
How to use projects to handle claims/issues?
A company selling support services often has to deal with problems occurring during the implementation of the project. These issues have to be solved and followed up as fast as possible in order to ensure the deliverability of the project and a positive customer satisfaction.
For example, as an IT company offering the implementation of your software, you might have to deal with customers emails experiencing technical problems. Odoo offers the opportunity to create dedicated support projects which automatically generate tasks upon receiving an customer support email. This way, the issue can then be assigned directly to an employee and can be closed more quickly.
Configuration
The following configuration are needed to be able to use projects for support and issues. You need to install the Project management and the Issue Tracking modules.
Create a project
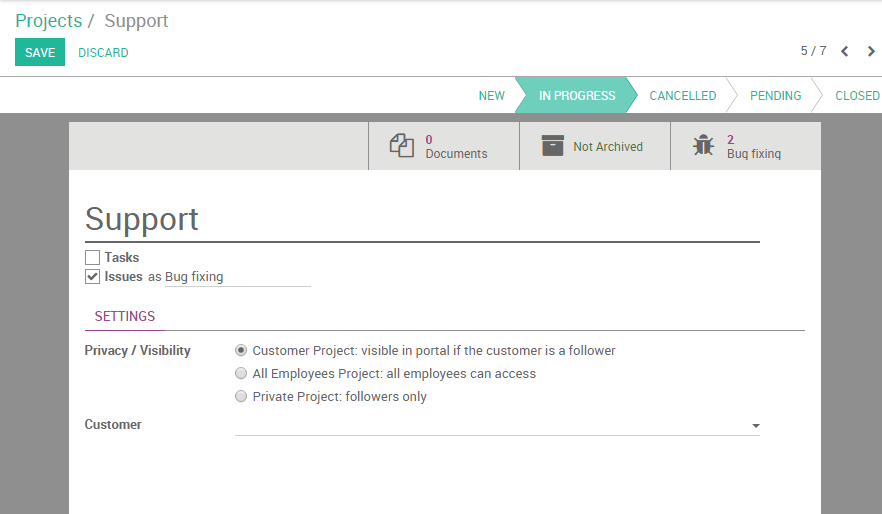
The first step in order to set up a claim/issue management system is to create a project related to those claims. Let's start by simply creating a support project. Enter the Project application dashboard, click on create and name your project Support. Tick the Issues box and rename the field if you want to customize the Issues label (e.g. Bugs or Cases). As issues are customer-oriented tasks, you might want to set the Privacy/Visibility settings to Customer project (therefore your client will be able to follow his claim in his portal).
Note
You can link the project to a customer if the project has been created to handle a specific client issues, otherwise you can leave the field empty.
Invite followers
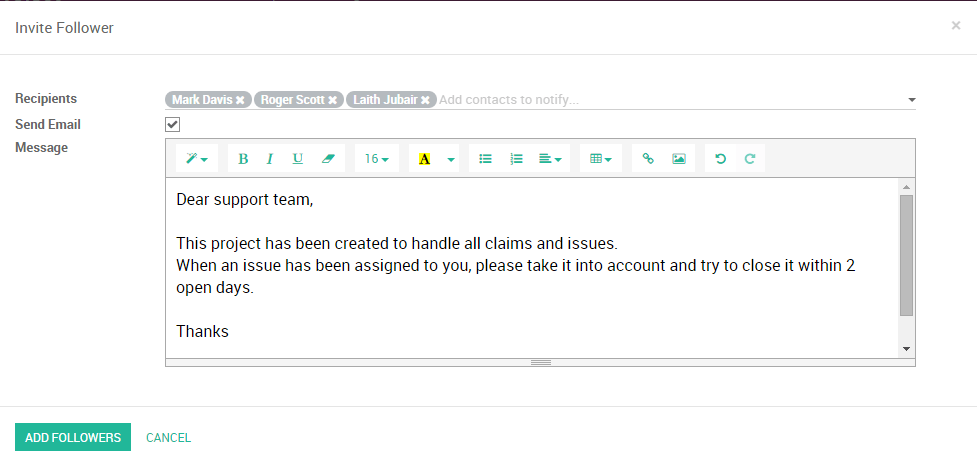
You can decide to notify your employees as soon as a new issue will be created. On the Chatter (bottom of the screen), you will notice two buttons on the right : Follow (green) and No follower (white). Click on the first to receive personally notifications and on the second to add others employees as follower of the project (see screenshot below).
Set up your workflow
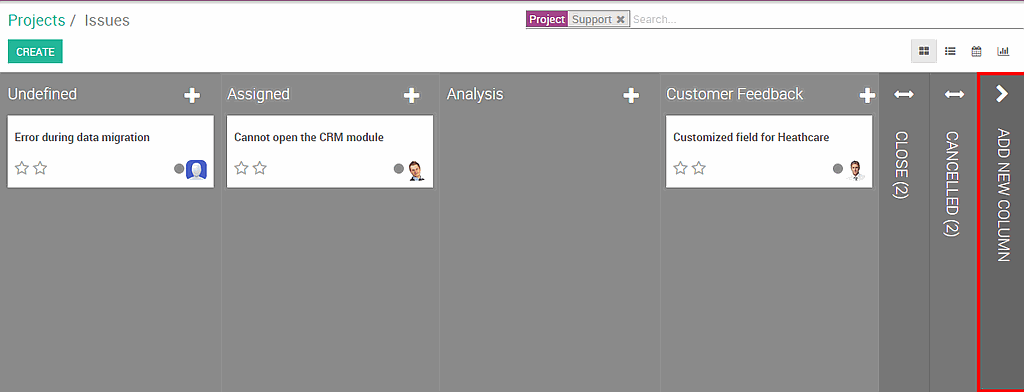
You can easily personalize your project stages to suit your workflow by creating new columns. From the Kanban view of your project, you can add stages by clicking on Add new column (see image below). If you want to rearrange the order of your stages, you can easily do so by dragging and dropping the column you want to move to the desired location. You can also edit, fold or unfold anytime your stages by using the setting icon on your desired stage.
Generate issues from emails
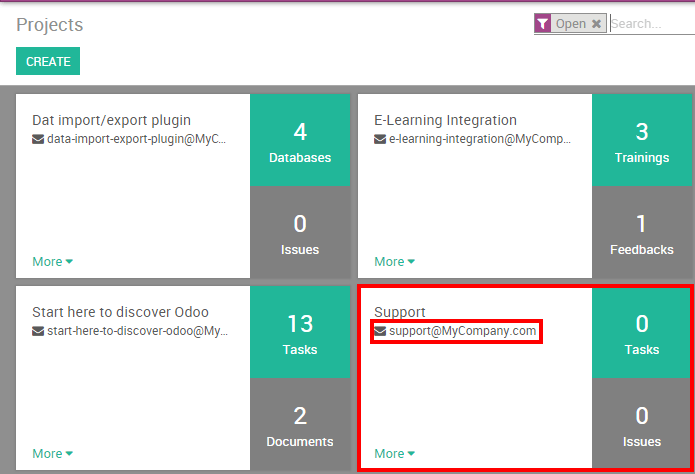
When your project is correctly set up and saved, you will see it appearing in your dashboard. Note that an email address for that project is automatically generated, with the name of the project as alias.
Note
If you cannot see the email address on your project, go to the menu :menuselection:`Settings --> General Settings` and configure your alias domain. Hit Apply and go back to your Projects dashboard where you will now see the email address under the name of your project.
Every time one of your client will send an email to that email address, a new issue will be created.