How to configure your table map?
Make your table map
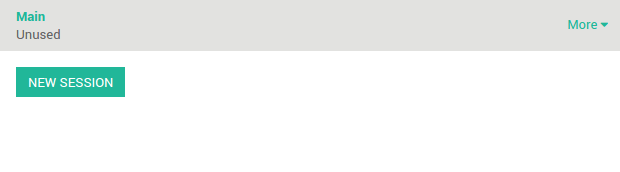
Once your point of sale has been configured for restaurant usage, click on New Session:
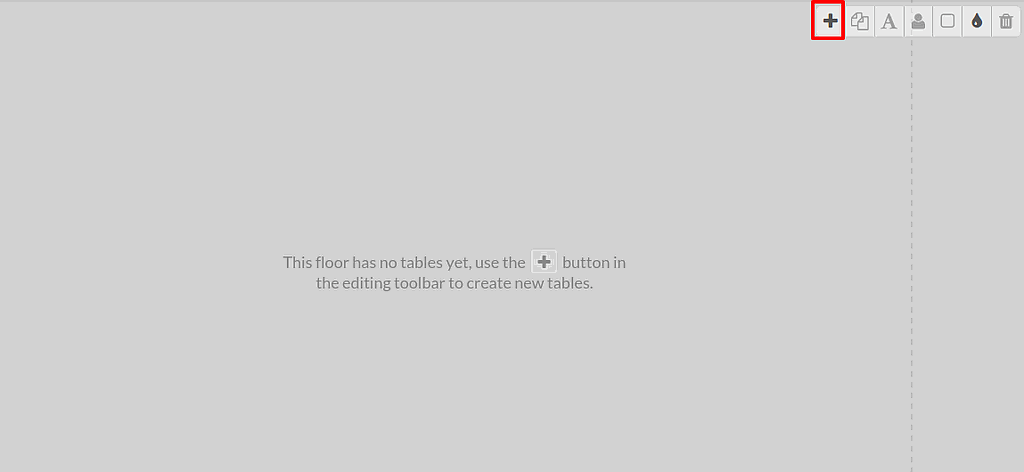
This is your main floor, it is empty for now. Click on the + icon to add a table.
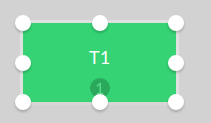
Drag and drop the table to change its position. Once you click on it, you can edit it.
Click on the corners to change the size.
The number of seats can be set by clicking on this icon:

The table name can be edited by clicking on this icon:

You can switch from round to square table by clicking on this icon:

The color of the table can modify by clicking on this icon :

This icon allows you to duplicate the table:

To drop a table click on this icon:

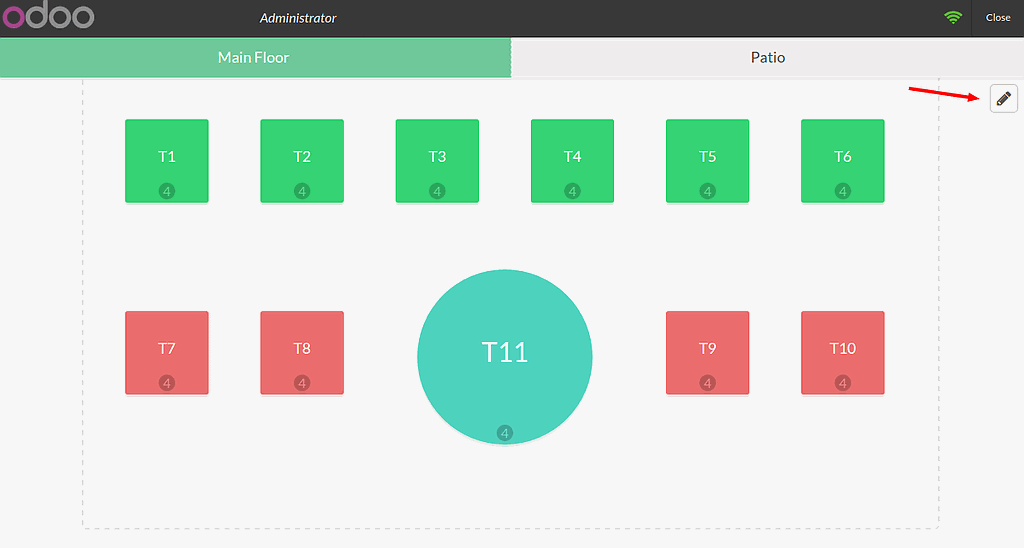
Once your plan is done click on the pencil to leave the edit mode. The plan is automatically saved.
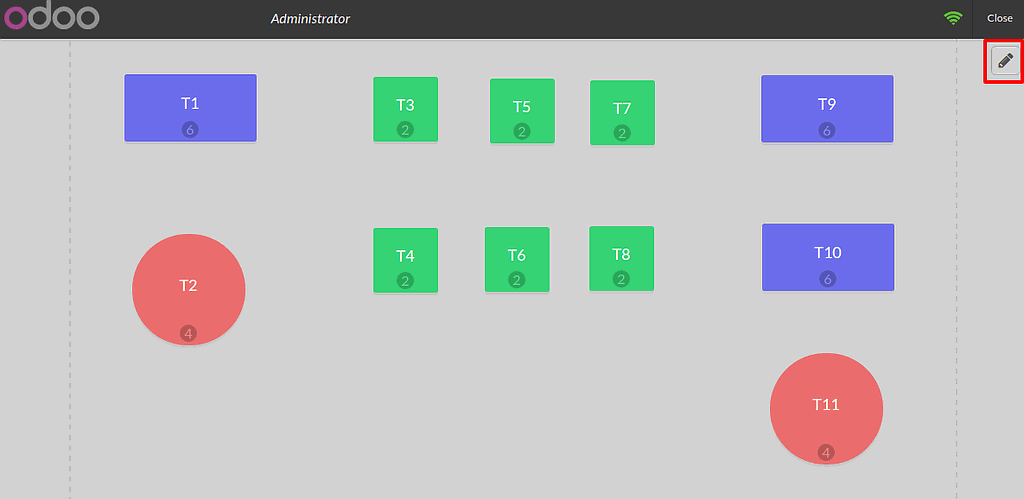
Register your orders
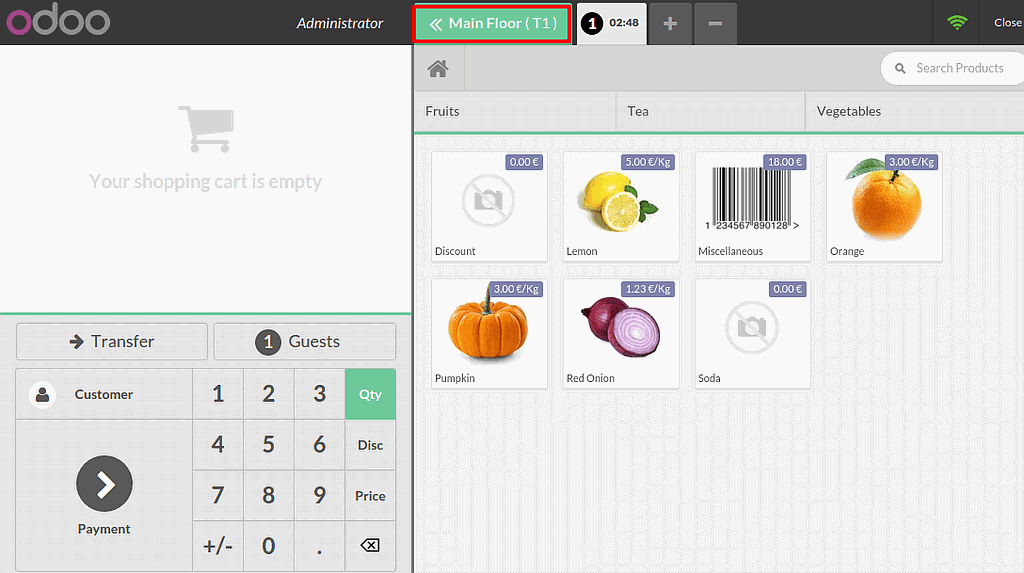
Now you are ready to make your first order. You just have to click on a table to start registering an order.
You can come back at any time to the map by clicking on the floor name :
Edit a table map
On your map, click on the pencil icon to go in edit mode :